Contouring is a game-changer in the world of makeup, transforming a flat base into a masterpiece of dimension and structure. But here’s the secret: not all contouring techniques work for every face shape. Understanding how to contour according to your unique facial structure can elevate your makeup routine from good to flawless.
Let’s break it down into face shapes and techniques tailored to each one.
Why Contour According to Face Shape?
Contouring enhances your natural features by creating shadows and highlights that mimic light’s natural play on your face. The goal isn’t to change your face shape but to enhance it. Each face shape—oval, round, square, heart, diamond, or oblong—has distinct characteristics, and the placement of contour and highlight can emphasize or soften those features beautifully.
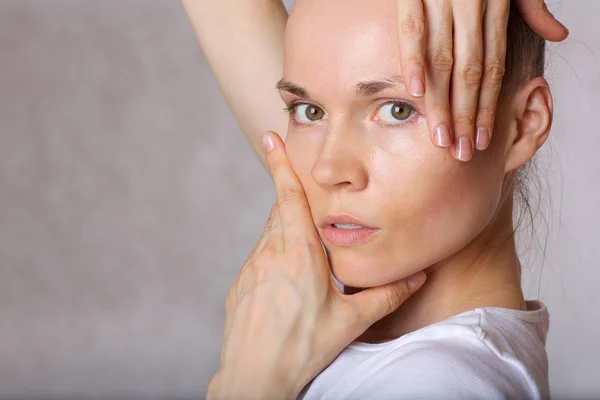
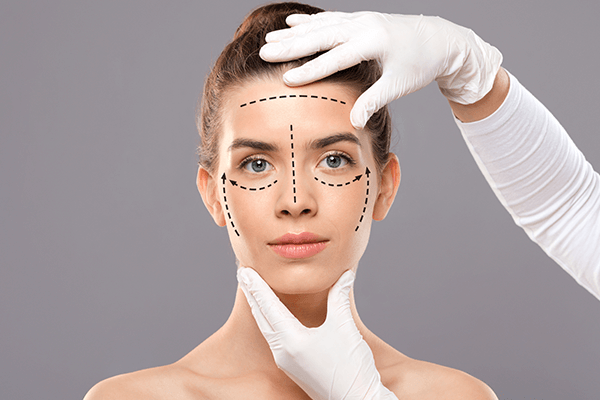
Identifying Your Face Shape
Before you start, identify your face shape. Pull your hair back and observe the width of your forehead, cheekbones, and jawline in a mirror.
Here’s a quick breakdown:
Oval: Balanced proportions, slightly narrower jaw than the forehead.
Round: Cheekbones and face width are similar; rounded jawline.
Square: Strong, defined jawline and forehead of similar width.
Heart: Wider forehead with a pointed chin.
Diamond: Narrow forehead and chin, wider cheekbones.
Oblong: Longer than wide, with a straight cheekbone line.
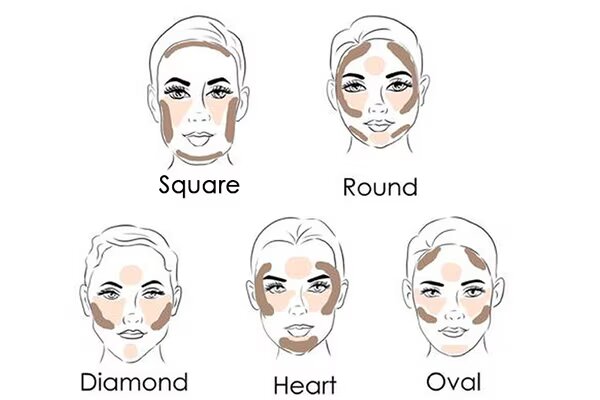
Contouring Techniques for Each Face Shape
Oval Face Shape
Oval faces are considered the most balanced shape, so the goal is subtle enhancement.
Contour: Lightly define the hollows of the cheeks (from the ear to mid-cheek) using a cool-toned contour or bronzer.
Highlight: Apply highlighter to the tops of the cheekbones, the center of the forehead, and down the nose bridge.
Blush Placement: Keep it on the apples of the cheeks and blend toward the temples for a soft, lifted look.
Round Face Shape
For round faces, the goal is to create the illusion of length and definition.
Contour: Focus on the sides of the forehead, under the cheekbones, and along the jawline. Blend diagonally upward to slim the face.
Highlight: Apply to the center of the forehead, the tops of the cheekbones, and the chin to draw attention to the center of the face.
Blush Placement: Place blush slightly higher on the cheeks to elongate the face.

Square Face Shape
Square faces have strong angles, so softening the jawline and forehead is key.
Contour: Apply along the sides of the forehead and under the cheekbones, blending upward. Add a touch along the jawline to soften it.
Highlight: Brighten the tops of the cheekbones, the center of the forehead, and the chin.
Blush Placement: Sweep blush on the apples of the cheeks and blend outward for a natural glow.
Heart Face Shape
For heart-shaped faces, balance the wider forehead and narrower chin.
Contour: Apply along the sides of the forehead to minimize width and under the cheekbones to add dimension. A touch under the chin can help balance the face.
Highlight: Focus on the tops of the cheekbones and the center of the chin to bring balance.
Blush Placement: Apply blush slightly below the cheekbones to create a harmonious effect.
Diamond Face Shape
Diamond faces have prominent cheekbones and a narrower forehead and chin. The goal is to soften these features.
Contour: Add depth to the cheekbones and along the forehead’s edges. Avoid heavy jawline contouring to keep the focus on the center.
Highlight: Brighten the center of the forehead, cheekbones, and chin.
Blush Placement: Use blush on the cheekbones, blending slightly outward for balance.
Oblong Face Shape
For oblong faces, shortening the appearance of the face is the focus.
Contour: Apply to the top of the forehead near the hairline and under the chin to create a shorter, more balanced look.
Highlight: Add to the tops of the cheekbones and the nose bridge.
Blush Placement: Apply blush on the apples of the cheeks and blend outward to add width to the face.
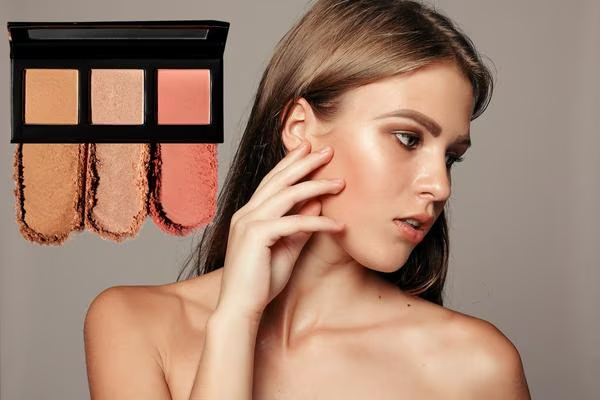
Tools of the Trade
To achieve precise contouring, you need the right tools:
Contour Stick or Powder: Choose a shade that is 2–3 tones darker than your skin for shadows.
Highlighter: Opt for a shade that complements your undertone for a natural glow.
Blush: A color that matches your natural flush will tie everything together.
Brushes and Sponges: Use a dense contour brush, a fluffy highlighter brush, and a beauty sponge for seamless blending.
Pro Tips for Flawless Contouring
Blend, Blend, Blend: Harsh lines can ruin your look. Use a damp sponge or fluffy brush for seamless blending.
Light Layers: Build up product gradually to avoid overdoing it.
Set Your Makeup: Use a translucent powder to lock in your contour and highlight for long-lasting wear.
Adapt to Lighting: Check your makeup under different lights to ensure natural-looking results.
Common Contouring Mistakes to Avoid
Overdoing It: Heavy contouring can look unnatural. Keep it subtle for a polished appearance.
Using the Wrong Shade: Too dark or warm shades can make your contour look muddy. Stick to cool or neutral tones.
Skipping the Highlight: Contour without highlight can make the face look flat. Balance is key.
Practice Makes Perfect
Like any makeup technique, contouring takes practice. Start with a light hand and experiment to find what works best for your face shape. With time, you’ll master the art of enhancing your features effortlessly.
Contouring is a powerful way to bring out the best in your natural features. By tailoring your technique to your face shape, you can achieve a beautifully balanced and harmonious look every time. So, grab your contour kit, follow this guide, and get ready to glow like a pro!


